|
[Trail Log]
Stuff - GPS files; pictures; gear tips. Read about it here.
Day 0 - Traveling to Hilo; getting hiking passes; getting supplies; being bored. Read about it here.
Day 1 - Driving to the trail head; hiking to Red Hill cabin. Read about it here.
Day 2 - From Red Hill cabin to the summit cabin. Read about it here.
Day 3 - From the summit cabin to the actual summit; back down to Red Hill cabin. Read about it here.
Day 4 - From Red Hill cabin back to trail head. Read about it here.
[GPS Files]
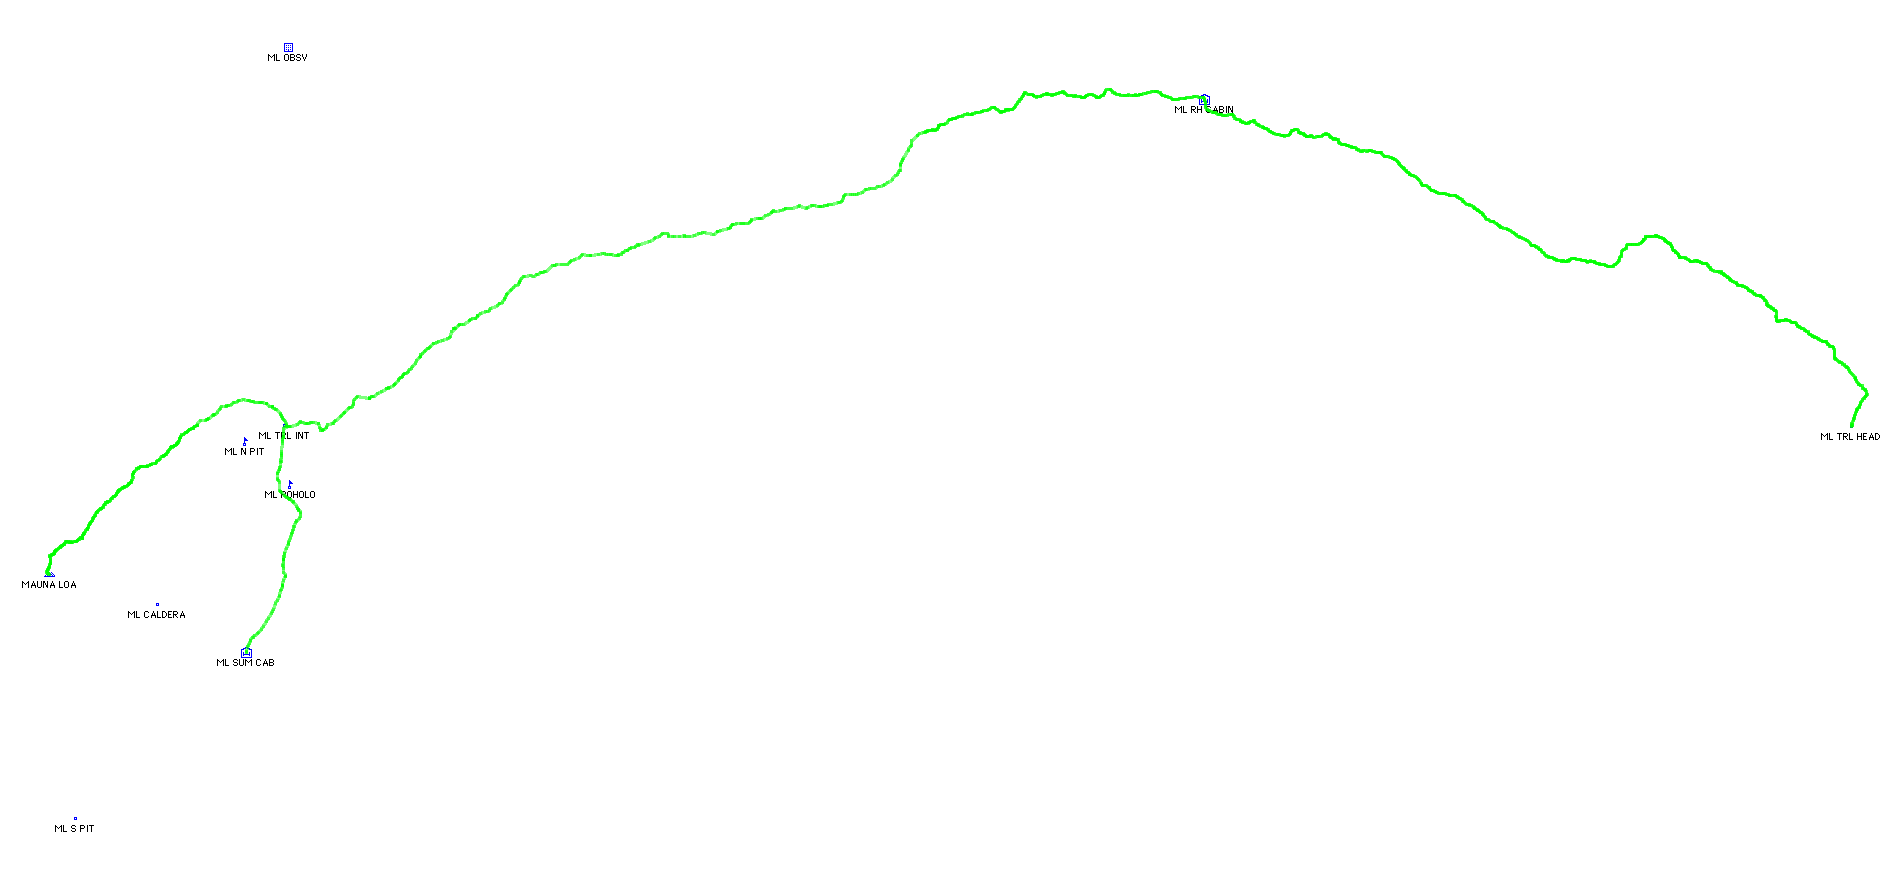
The track log file includes three segments: from the Mauna Loa trail head to Red Hill Cabin; from Red Hill Cabin to the Mauna Loa Summit Cabin; from the trail junction near North Pit to the Mauna Loa summit. Three formats are available: the plain text file is tab-delimited and human-readable; the gpx file is one with which I'm not familiar - maybe it'll be useful to you; the kml file is compatible with Google Earth. Choose wisely. [ tracklog.txt | tracklog.gpx | tracklog.kml ]
The waypoint file includes various points relevant to the hike (trail head, the two cabins, summit, etc.). Some of these points I marked with my GPS. Other points are from information I found on the internet (like the surrounding volcanoes). And still other points I estimated using Google Earth. The three file formats are described in the previous paragraph. [ waypoints.txt | waypoints.gpx | waypoints.kml ]
[Research]
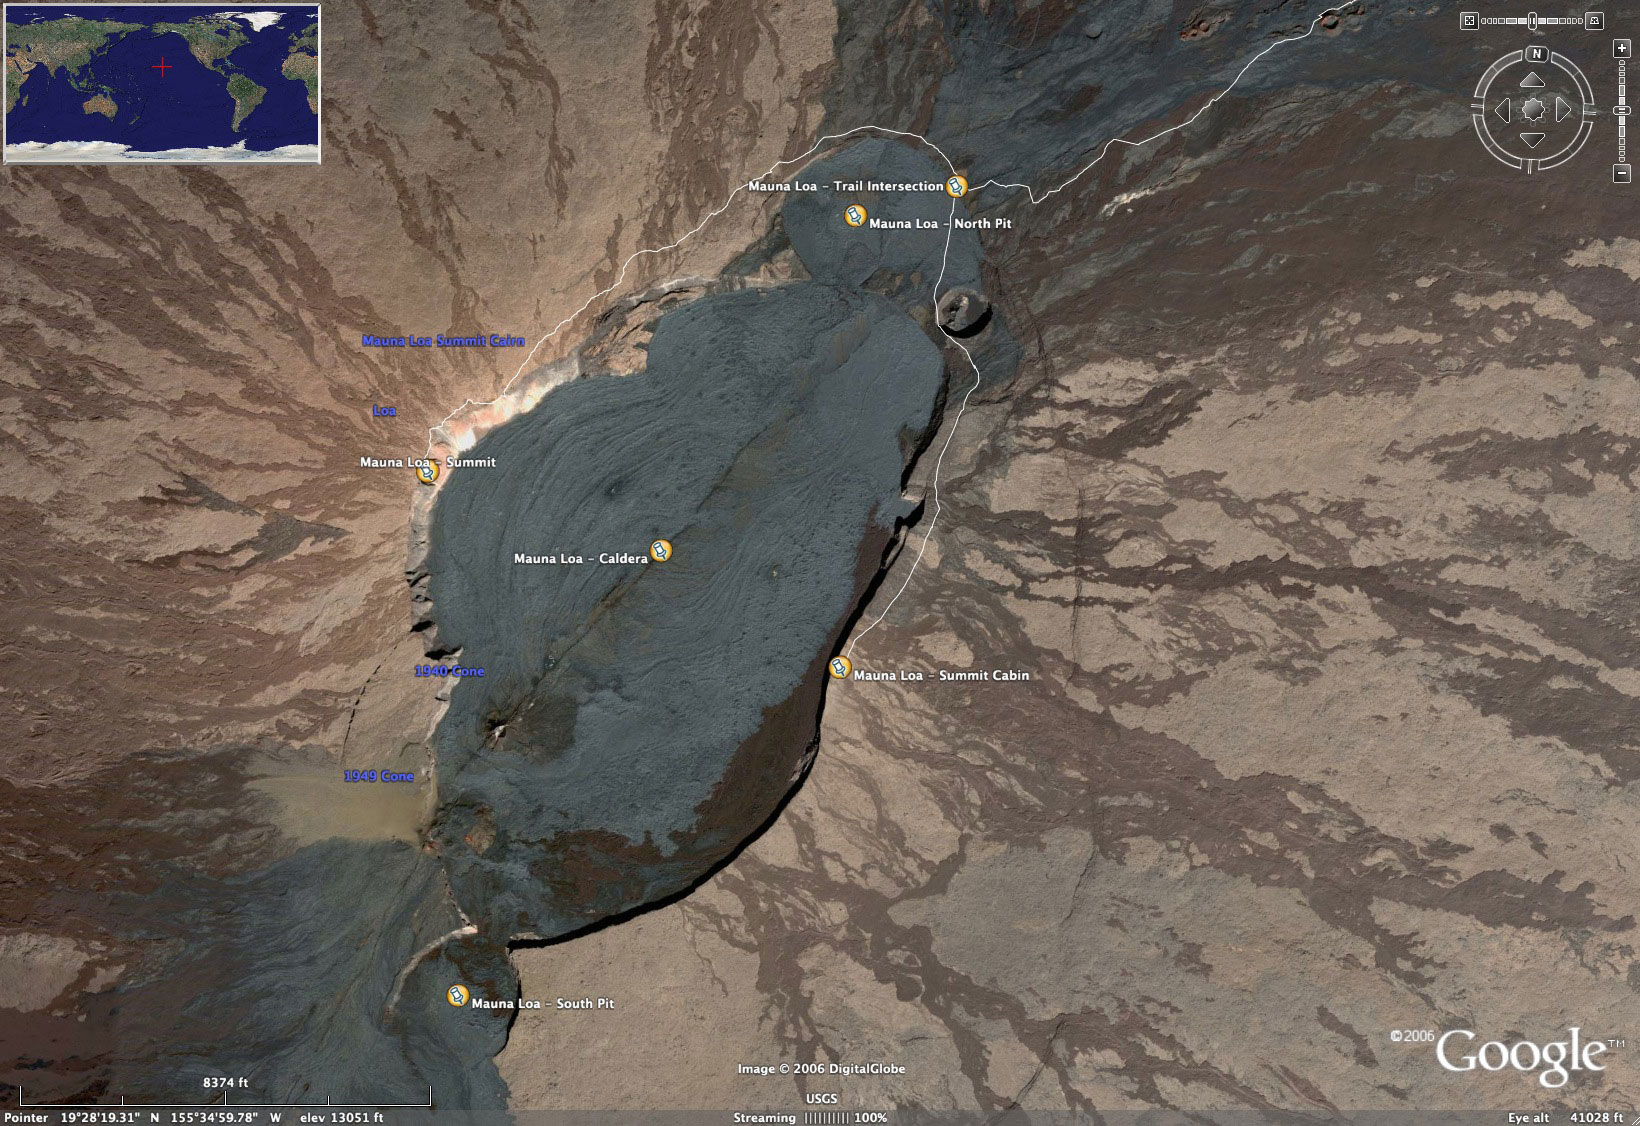
During the weeks leading up to the hike I obtained as much information on the hike as I could. One particularly helpful source was Google Earth. The resolution of the imagery over Mauna Loa was amazing ... and much better than the resolution over the rest of the island - for whatever reason. The summit cabin, observatory and even the trail itself is plainly visible.
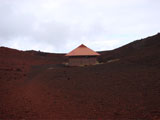
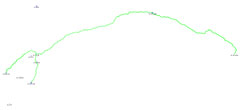
Regarding the trail, after the hike I copied the track logs from the GPS to MacGPS Pro and exported it to Google Earth (the KML file available above). Google Earth will then over-lay the track log (and my waypoints) on the satellite imagery. The points from the GPS that represent my route certainly correspond roughly with the visible trail ... although they don't match up quite as well as I would have expected (the summit cabin picture, above, shows this). These three pictures are of 1) the summit caldera, 2) the entire hike and 3) the trailhead (the resolution is almost good enough to see the idiodic chickens darting across the road in a suicidal panic), respectively.
[Pictures]
I knew that I would never take pictures if I put my camera in my pack: having to stop, take the pack off, open it up, dig the camera out, etc., etc.; there was no way. So, I strung it around my neck the whole way. Also, I only took pictures going up so they're roughly in order from the trail head to the summit cabin and then a few more on the actual summit hike. You can find all of the pictures here. There are several.
[Equipment]
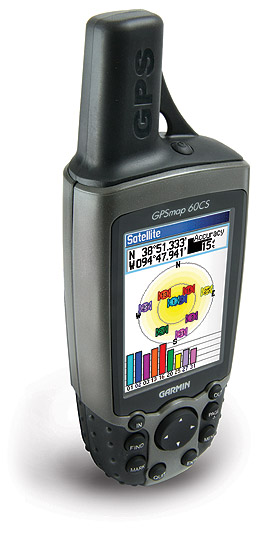
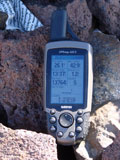
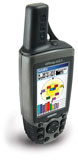
Garmin GPSmap 60CS - I've owned several Garmin units; this is my current one. For some future, multi-person, multi-day hike I'd love to buy some Rino's, but until I have some more disposable income the 60CS, though severly abused, continues to serve me well. The new model with the removable memory card looks wonderful. One day. My 60CS used to be nice and shiny like in the second picture (below); now it looks disinctly like the first picture (mostly because that is in fact a picture of my 60CS).
 |
|
 |
MacGPS Pro - For all of my post-hike waypoint/tracklog editing and archiving needs, I use MacGPS Pro. Obviously, if you're not using a Mac then this won't help you any. As an aside, you should be using a Mac. Anyway, I like the program a lot. It (obviously) works with my 60CS (with the one annoying quirk about having to disconnect the GPS after each operation; I don't know whose fault that is.). It draws pretty maps. It exports data in a format that is compatible with Google Earth (which is immensely handy). It's good stuff.
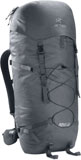
ARC'TERYX Acrux 65 - This is a really cool pack. The material is quite obviously water-proof (when you touch it). It's also pretty tough (I tossed it down on countless glass-like shards of lava-rock). My only complaint is its size: if it had a slightly larger diameter I could possibly fit my sleeping bag inside with all of the other gear. Instead, I had to strap the sleeping bag to the outside of the pack, which ended up working just fine. Fully-loaded it got pretty close to weighing fifty pounds and it held up just fine. Pretty comfortable - or as comfortable as one can expect with fifty pounds strapped to one's back.
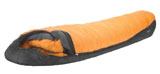
Mountain Hardware Lamina -15 - It's warm. It weighs just over four pounds. No, I'm not talking about *that* - although that's impressive, too. I'm talking about the Lamina -15. It was plenty warm for the hike up Mauna Loa. It's a bit of a pain to get the bag back into the stuff-sack. In fact, getting the bag back into the stuff-sack was the one thing I dreaded most each [cold] morning (aside from actually getting out of it, in the first place).
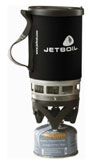
JetBoil Personal Cooking System - I had not heard of the JetBoil before visiting REI. Compared with all of the traditional alternatives, this instantly appealed to me. I used it once on my back-patio before the hike: it was simple and easy to use. During the hike I prepared a few cups of hot tea and some freeze-dried meals. It worked very well. I couldn't bring the fuel with me on the flight to Hawaii so I was reduced to trying to find some for sale once I arrived in Hilo. The WalMart didn't have any, and neither did the True Value store near Hawaii Volcanoes National Park. The True Value people referred me to an army surplus place in downtown Hilo, and they did in fact have canisters with the correct threading. Big canisters. I was definitely in no danger of running out of fuel during the hike. I would have rather not had to carry the extra fuel up the volcano and back down again, but when you're in Hilo, you don't really have very many choices.
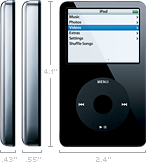
Apple 5.5G iPod - Apple just released a [slightly] improved video iPod. The true appeal was the 80GB capacity. I ran out and picked up a black one. For purpose of the hike, I got the camera connector which would let me copy pictures from the DSC-H5 onto the iPod, so that neither had to 1) selectively delete pictures as I ran out of room on the camera, or 2) lug an 8 pound laptop to the summit of the volcano. In retrospect, I could have instead opted to just get another 1GB memory stick, but this option seemed too appealing.
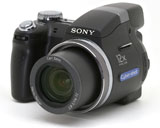
Sony Cyber-shot DSC-H5/B - The day before I was scheduled to leave, I got my Sony Cyber-shot DSC-F717 out to test my new iPod digital camera adapter - and the camera was dead. Not entirely dead, but mostly dead. It could only see black. With a purple stripe. It could see some other color when I put it in night-shot mode. Figures. I quickly started scouring the net for a new camera. I was just dying for some unexpected expense, and this fit the bill. I fairly quickly decided on the Cyber-shot DSC-H5/B, although I'm not sure why, since my F717 certainly didn't live very long. The F717 was out of warranty, and I didn't have 4 - 6 weeks for Wolf Camera to send it off to be repaired. Sucked. The review on dpreview was sufficiently positive, so I ran out to BestBuy and picked one up, along with a 1GB memory stick (the duo-pro thing). As far as complaints are concerned, when it comes to battery life when it is not using the included batteries, it utterly sucks. The user manual makes some mention of it having a hard time knowing how much charge is left in a non-recharable AA battery. The user manual doesn't lie. Although perhaps it doesn't sufficiently emphasize its true inability. Whatever. I had a lot of extra batteries with me. Oh yeah, and Sony charges something around $15 for additional batteries - insane. It's a good, compact, relatively light (compared to the F717) camera.
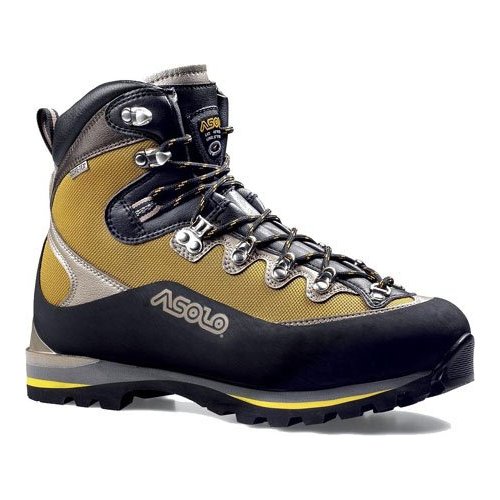
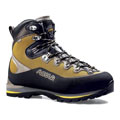
Asolo Titan GV - This is the first time I've purchased boots from Asolo, and I was quite impressed with the Titan GV. For four days I walked on unstable lava rock, and by the end my feet were rather sore, but otherwise not too bad off. While walking up-hill I used moleskin for my heals. While walking down-hill I needed to tape my toes. Those clip things part way up the boot that allow for different tensions on the lace between the upper part and the lower part are wonderful. In my opinion, no boot can survive a long hike across lava rock without enduring a small beating. Around the toe, where I "skuffed" quite a few times across the lava rock, it's a bit scratched up. The bottoms of the boots look pretty good overall. I've read of some people taping their boots before doing this hike. I'd recommend doing that across the sides of the boots if nothing else (in retrospect).
Various Other Items - I had a lot of other gear that I haven't specifically mentioned yet: katadyn water filter (which wasn't necessary because I had those little tablet things and the water was very clear); several 3L hydration bags that fit into the internal pouch in the Acrux 65 pack (one at a time, of course); compass; first aid kit; lots and lots of moleskin; gerber pocket knife; led flash light; freeze-dried meals, power bars, clif bars, granola bars, nutri-grain bars, beef jerky, peppermints and butter scotch candy; biodegradable toilet paper; warm fleece jacket; water-proof gortex jacket; water-proof pants; water-proof gloves; wool beanie; wool socks; sunscreen; asprin; lots of other stuff.
The most important "other item" I brought was flip-flops. Sandals might suffice as well. Just something to walk around in at the end of the day - other than one's boots.
[Other Sites]
HVNP Hiking Page - gives a bunch of details about the hike and their recommended gear. Here and here. Also, the HVNP people keep a journal page with links to various trail accounts. I've linked to most of them that pertain to Mauna Loa, below. The journal page has links for other trails as well.
Lisa Petersen - provides some useful (if not dated) information on the trail in her Mauna Loa Trail Guide.
Mauna Kea Weather Center - isn't directly applicable to hiking Mauna Loa, but is interesting just the same. Here.
Dayle Turner - has apparently done the hike three times. He is either lying or he is a true masochist. Crazy, either way. His website is here.
Sara Machlin - provides a fairly brief account of her hike here. It uses the phrase power puking, so it really is a must-read.
Anne Walker - her account of the hike on Oct 30, 2005 is here. Seeing the pictures of some of these people made me think "if they can do it, I certainly can" ... but then you read it, and find out that they didn't make it. heh.
Kelly Villaverde - his (???) account of the hike is here. Based on the pictures, this was done back when the pit toilet at the summit had a door on it. Such luxury. I didn't see a date anywhere though. He also made a second trip which can be found here.
David Hoover - he did the observatory trail. I totally don't understand. Read about it here.
Jim Albertini - gives a brief account of his trip along the observatory trail on Aug 31, 2005 here. Again, I don't understand why one would want to do that trail instead of the "real" trail. Whatever.
Norrie Judd - is a ranger I spoke with on the phone about a week prior to my trip. I called to ask a couple quick questions and she ended up providing an abundance of useful information for the next half hour. I understood that she had done the hike several times. This just pertains to a trip on Jan 02, 2006 ... which only goes as far as Red Hill.
Unknown - this is an account of a trip made in Dec of 1992. Seriously old.
Joe Dellinger - made the trip twice: first on Jul 11, 1991 (photos are here) and then again sometime in 1994.
|